

BETTER TOUCH BETTER BUSINESS
Contact Sales at Vowin.
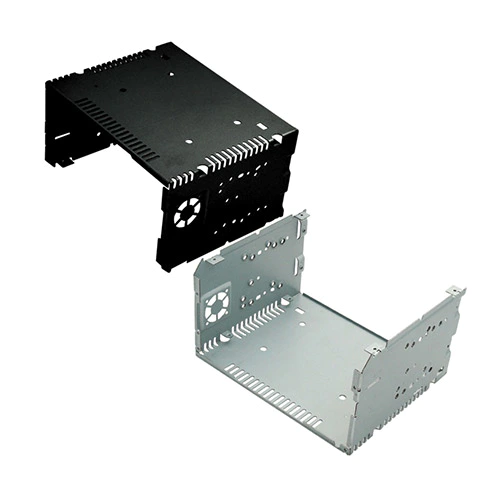
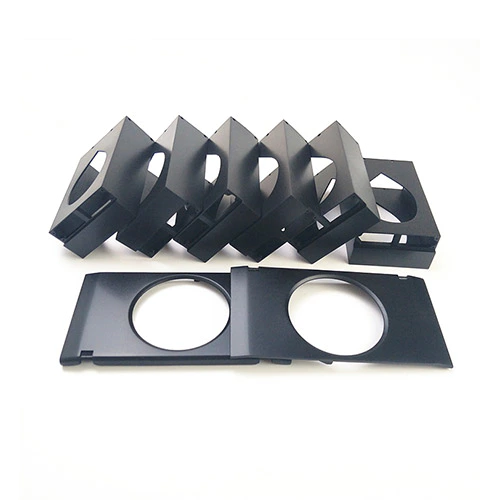
Rapid prototyping manufacturer, reduce mechanical processing and save material and processing costs.

Introduction
Mold making is an essential skillset that every designer should have in their toolkit. Whether you work with clay, resin, or any other material, understanding the techniques of mold making can open up a world of creative possibilities. In this article, we will explore five crucial mold making techniques that will enhance your designs and take your craftsmanship to the next level. From creating intricate details to replicating complex shapes, these techniques will empower you to bring your artistic vision to life. So let's dive in and discover the magic of mold making!
Understanding the Basics of Mold Making
Before we delve into specific techniques, it is crucial to grasp the fundamentals of mold making. Mold making involves creating a negative form (the mold) that is used to reproduce an object multiple times. The mold is typically made from materials like silicone, latex, or urethane, which have excellent flexibility and release properties. The mold is then filled with a casting material such as resin or plaster to create the final replicated piece.
The Importance of a Well-Prepared Master
To achieve a high-quality mold, it is essential to start with a well-prepared master. The master is the original object or model from which the mold will be made. Before creating a mold, make sure your master is clean and free from imperfections. Smooth out any rough edges, sand down uneven surfaces, and fill in any gaps or holes. Taking the time to prepare your master will result in a more accurate and refined final product.
Creating a One-Part Block Mold
The one-part block mold technique is an excellent place to start for beginners. It is a straightforward method that is ideal for objects with a flat back or limited undercuts. To create a one-part block mold, you will need a mold box, which is a rigid frame that holds the mold material in place. Secure your master object within the mold box using clay or adhesive. Next, mix the mold material according to the manufacturer's instructions and pour it into the mold box, covering the master completely. Allow the material to cure and then carefully remove the mold box and separate the mold from the master. You now have a one-part block mold ready for casting.
Precision with the Two-Part Mold Technique
For objects with more complex shapes or undercuts, the two-part mold technique is the way to go. This technique allows you to capture intricate details and ensures easy release of the object from the mold. To create a two-part mold, you will need to divide the mold into two halves, usually along a natural or strategically placed seam line. Start by creating a mold box and securing your master object within it. Apply a release agent to the master to prevent the mold material from sticking. Now, mix the mold material and pour it over one half of the master, covering it completely. After the material has partially cured, create registration keys or channels to ensure proper alignment of the two mold halves. Then, pour the mold material over the other half of the master, allowing it to cure completely. Once cured, carefully remove the mold box and separate the two mold halves. You now have a precise two-part mold ready for casting.
Replicating Complex Forms with a Brush-On Mold
The brush-on mold technique is ideal for replicating highly detailed or irregularly shaped objects. It allows for precise control over the mold material, ensuring every nook and cranny is captured faithfully. This technique requires a liquid mold material, such as liquid silicone rubber, and a brush or applicator. Begin by applying a release agent to the master object to facilitate easy release from the mold. Mix the liquid mold material according to the manufacturer's instructions and start brushing it onto the master. Apply multiple thin layers, allowing each layer to partially cure before applying the next. This build-up of layers ensures an even and detailed mold. Once the desired thickness is achieved, allow the mold to cure completely before removing it from the master. The brush-on mold technique is excellent for achieving intricate replication of complex forms.
Creating Multiple Parts with a Glove Mold
The glove mold technique is suitable for creating molds of objects with complex shapes and multiple parts. It allows for easy demolding and provides the flexibility to cast replicas in different materials or colors. To create a glove mold, start by preparing your master object and applying a release agent. Fill a container with the mold material and partially submerge the master into it, leaving a portion of the master exposed. Once the material has cured partially, remove the master and apply a layer of release agent over the cured section. Now, pour more mold material into the container, covering the cured section and the exposed portion of the master. Allow the material to cure completely before removing the glove mold from the container. The resulting mold will have a flexible seam that allows easy separation of the mold and excellent reusability.
Summary
Mold making techniques are an invaluable asset for designers looking to expand their creative horizons. Whether you are a sculptor, jewelry maker, or industrial designer, understanding these techniques will enable you to replicate your designs with precision and efficiency. From simple one-part block molds to intricate brush-on molds, each technique has its strengths and applications. Investing time in mastering these techniques will empower you to push the boundaries of your craft and bring your artistic vision to life.
Copyright © 2021 ShenZhen City Vowin Technology Co., Ltd. | All Rights Reserved Design

